Page 1 of 2 12 LastLast
Results 1 to 20 of 25

Thread: Need some help installing Hard Dog Rollbar

  1. #1
    Chassis Designer
    Join Date
    Mar 2009
    Location
    McKinney, TX
    Posts
    143

    Default Need some help installing Hard Dog Rollbar

    Hi,

    I've been looking at the rollbar in my garage and contemplating putting it in but I've been told it's a PITA to do it by yourself.

    I have gotten the carpet under soft top out, passenger seat out and can do most of the stuff required for install probably but it would be nice if a someone local is free Friday or Saturday that would not mind stopping by to help out. I can arrange some refreshments in exchange or offer lunch/dinner or little bit of cash so you can buy some beer and a pizza and enjoy at your own house after the install is done :)

    I am by 121 and Hardin in McKinney and have a proper garage with quite a bit of tools. No dremel or cutting tool but I am planning on picking up an automotive snip tool to make the cuts. I have the drill but I need to pick up drill bits along with some primer and paint to cover the holes to avoid rust. I know, I'm a little anal and like to do things right but in most cases end up messing something else up and that is where I can use some help :)

    I'm off on Friday, free Saturday afternoon and Sunday is mostly open.

    Please let me know if any of you are interested in helping me out with this and we can work something out.

    Thanks,
    Zo.

  2. #2

    Default

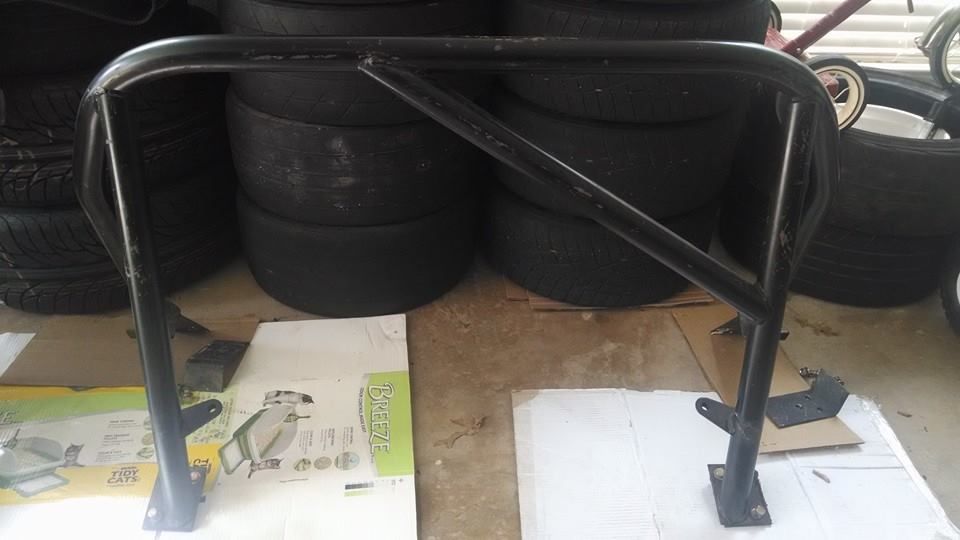
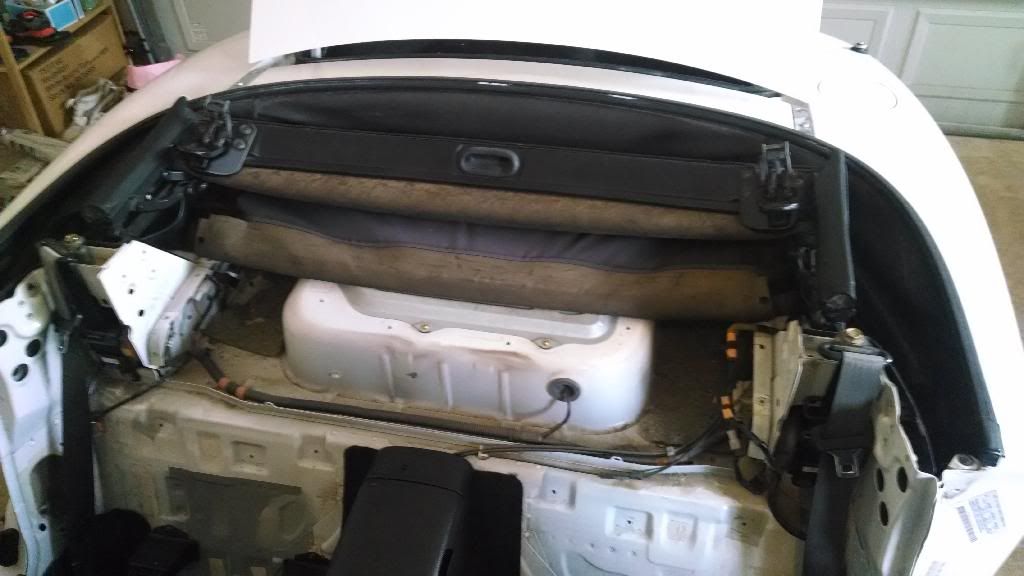
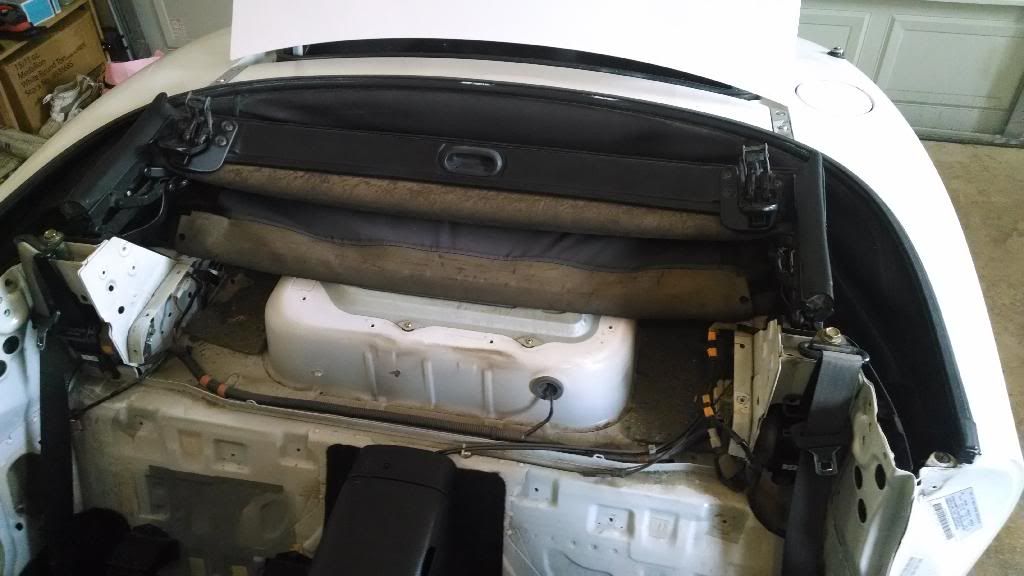
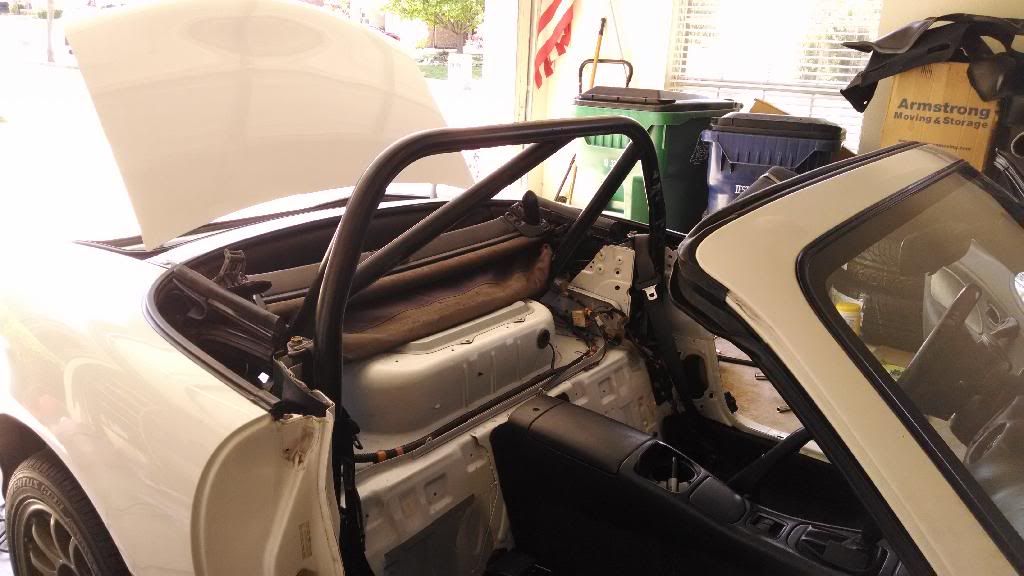
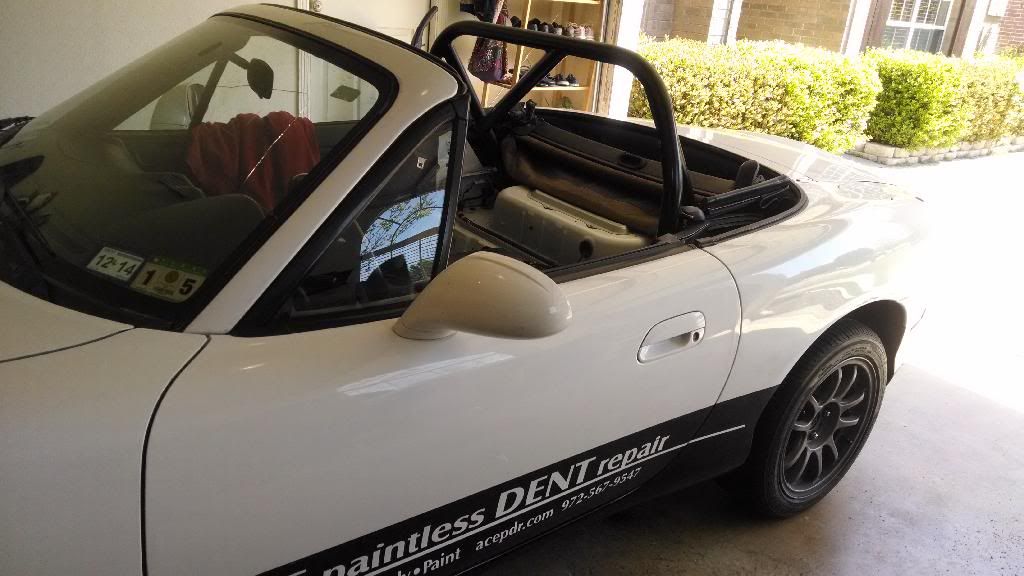
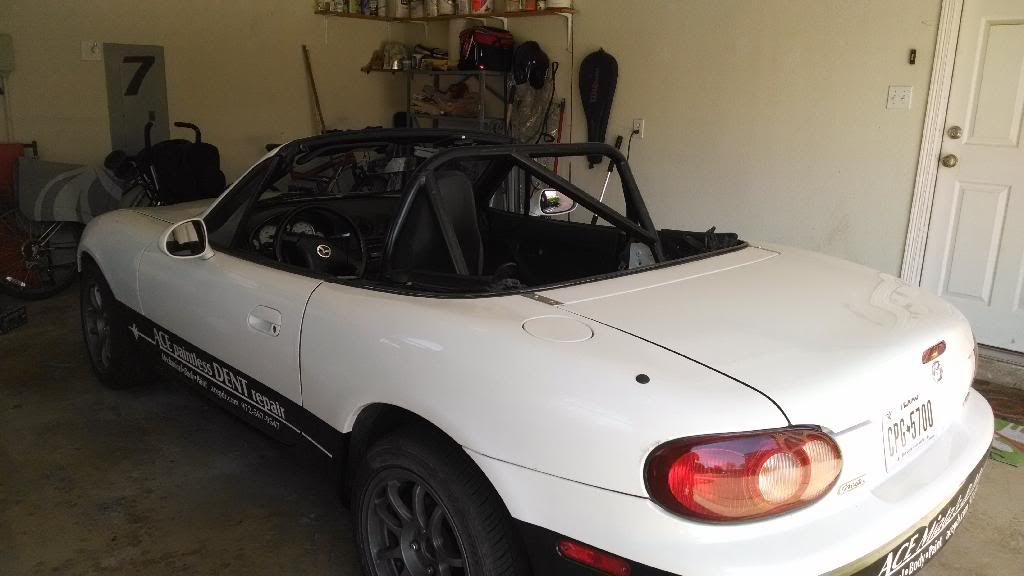
    McKinney's pretty far for me. But I've installed both a HDHCSD roll bar and a HD roll cage by myself. I thought both were straightforward. Remove both front seats though.

    A second person might have helped with the initial placement of the bar in the car, but beyond that it's pretty much a one-person job.

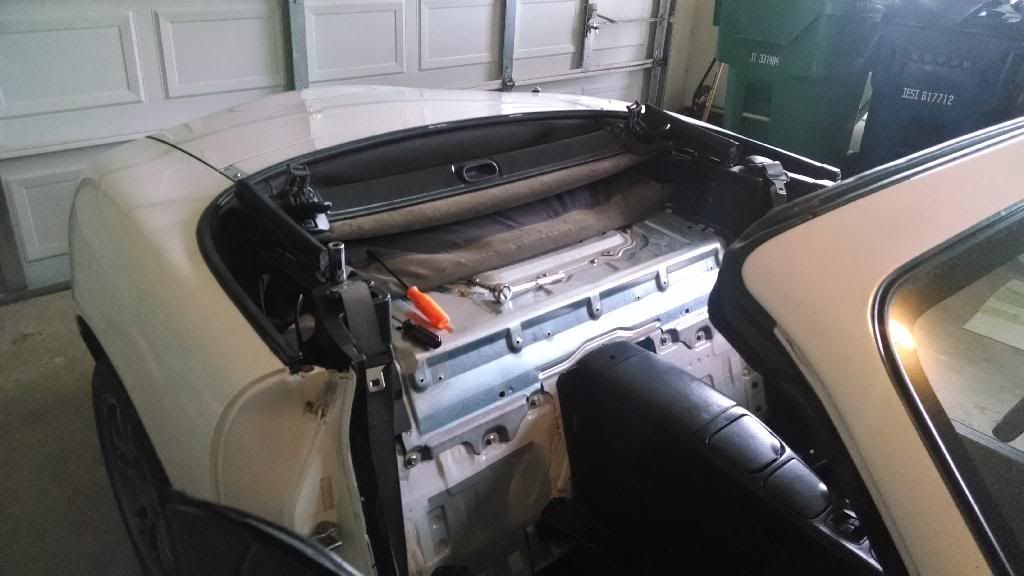
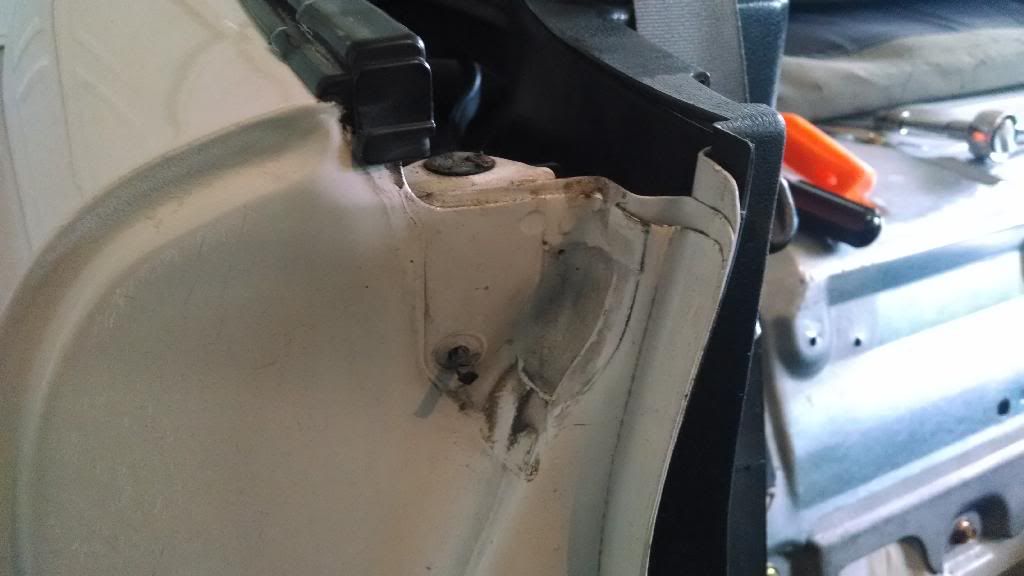
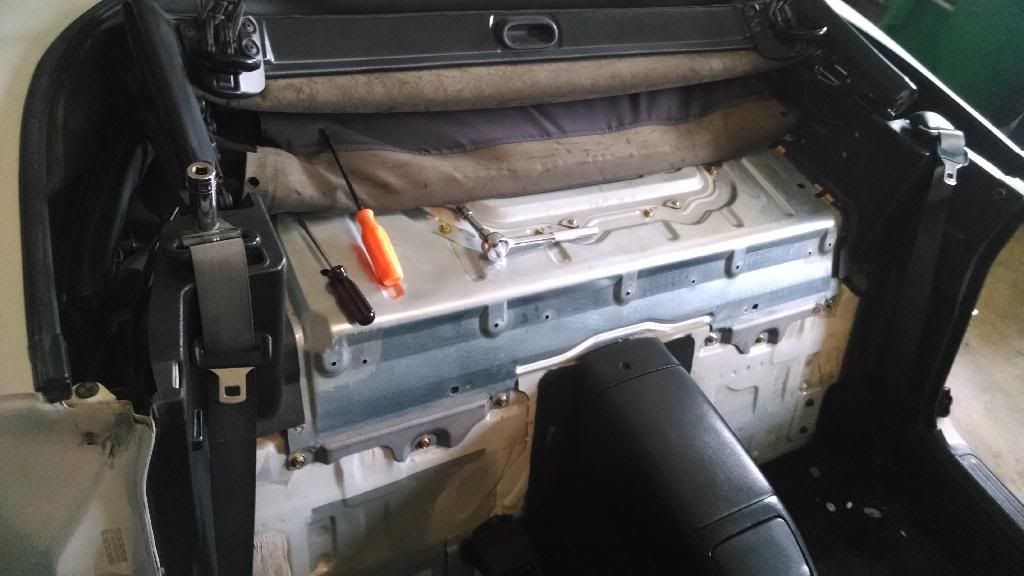
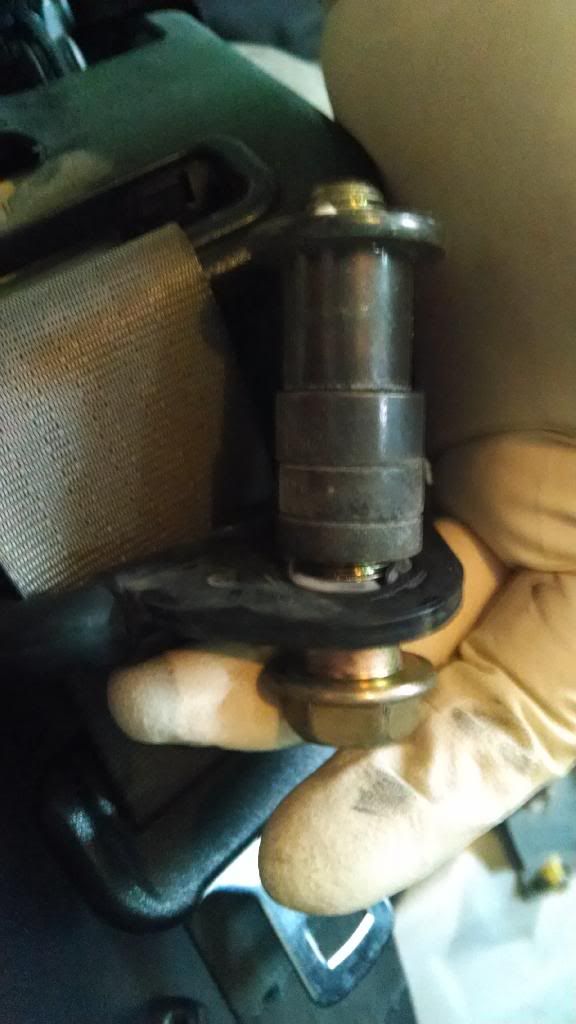
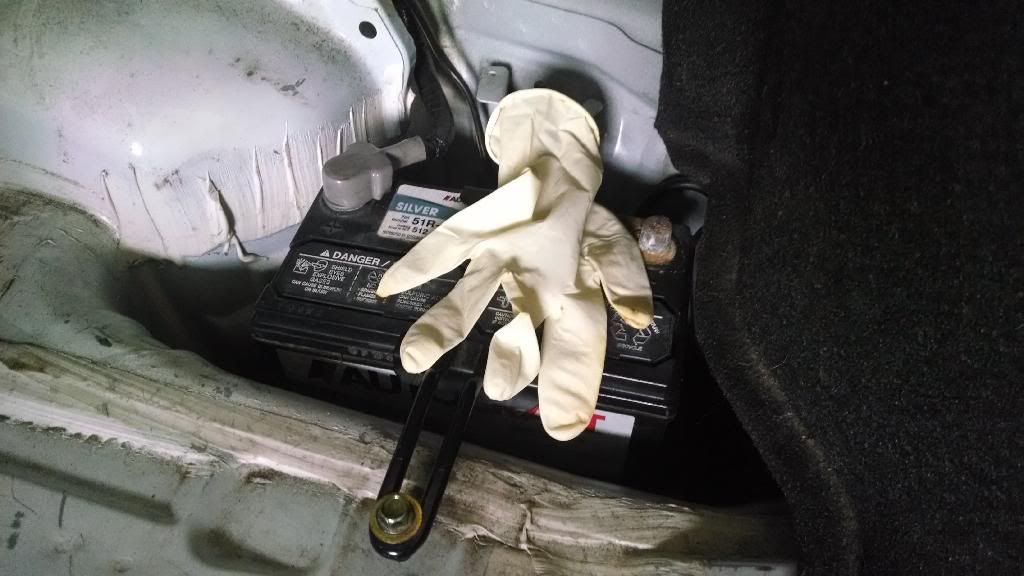
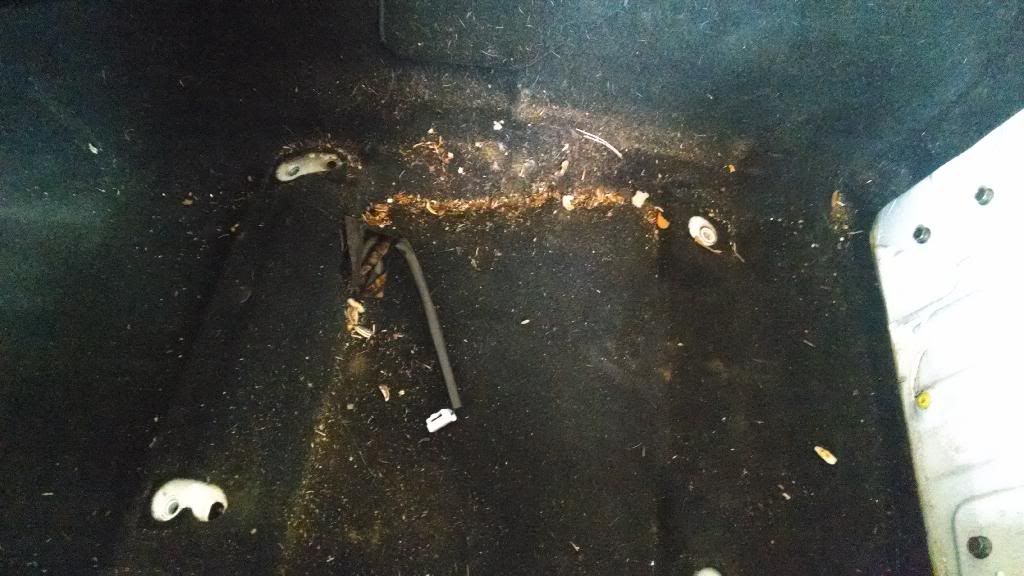
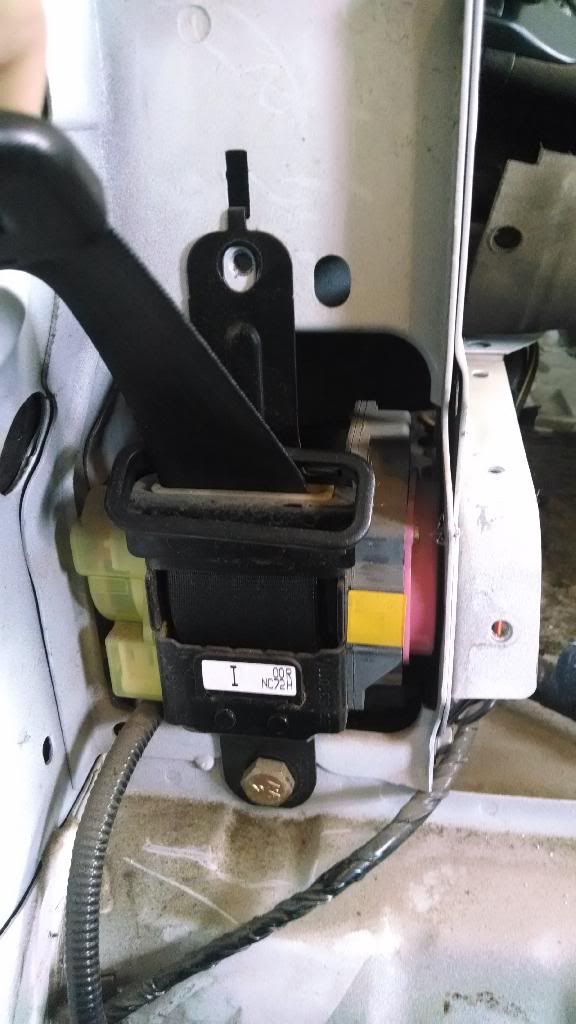
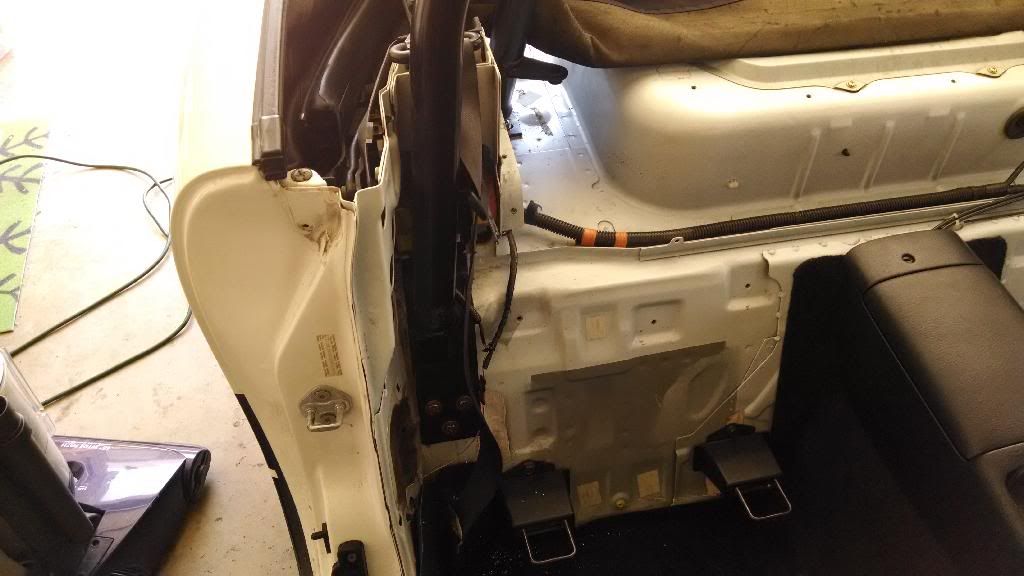
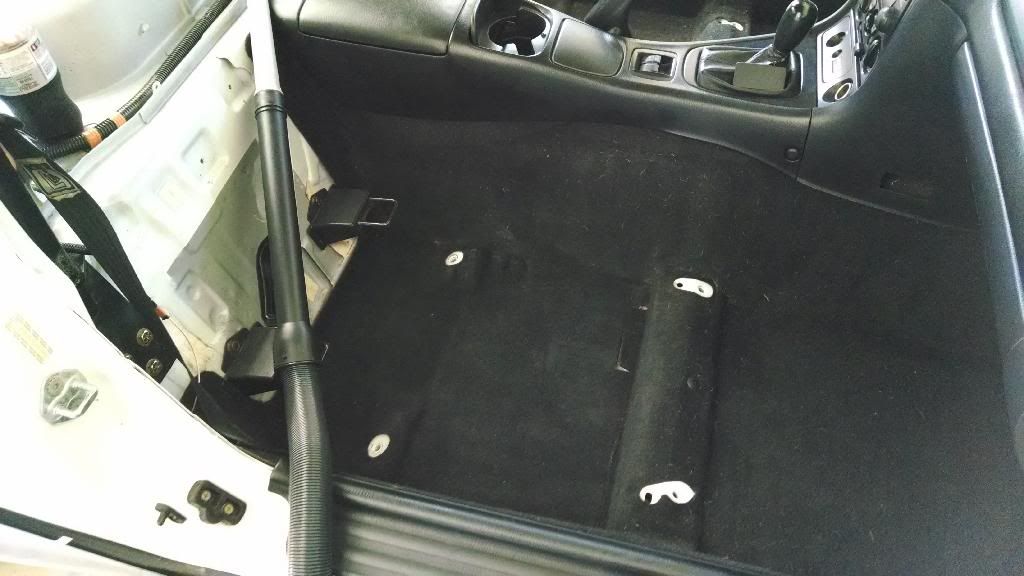
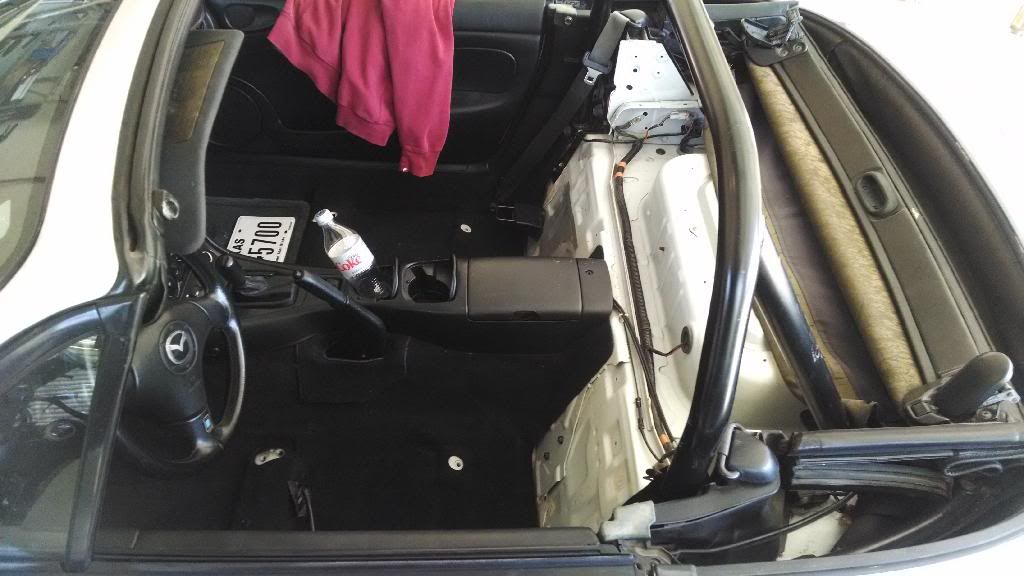
    I used a hole saw on the deck and then made my cuts so they finished tangent to the hole edges. Made for a pretty neat cutout.

    Good luck.

  3. #3

    Default

    It's really not all that bad - the tough part will be when you need to tighten the bolts - you'll need someone in the car to hold the bolt still and someone under the car to torque the nuts.

  4. #4

    Default

    One arm in the wheel well, and one inside the passenger compartment, with carefully selected socket extension works too.

    C

  5. #5
    Driver general default's Avatar
    Join Date
    Feb 2004
    Location
    xʇ ,ɥʇɹoʍ ʇɹoɟ
    Posts
    1,014

    Default

    What about star washers on the nuts. Keeps it from spinning.

  6. #6

    Default

    I wished I had time to help but the day Job, Stupid Jimmie's Autocross, and Easter Brunch have my dance card full this week...

  7. #7
    Chassis Designer
    Join Date
    Mar 2009
    Location
    McKinney, TX
    Posts
    143

    Default

    Thanks for the tip guys. If I don't do it now, it just won't happen. I would have rather autocrossed on Saturday but we have easter egg hunt and all that mess. Hopefully it will go smoothly and I'll be able to pimp properly at the next autocross :)

  8. #8

    Default

    I did mine by myself (mostly).

    Step Zero: Take the seats out, take out the rear deck carpet along with the metal deck pieces underneath the carpet, and give yourself room to work. Dry-fit the bar and figure out how much metal you need to remove from the rear package tray and the aforementioned trip pieces. Hell, Hard Dog might even have templates online. :)

    Step One: Attach the bar to the seat belt towers. It's kind of a bitch, but you can do it. I got to the end of Step One in about 4 hours in 35-degree weather, taking my time and screwing around.

    Step Two: Drill the rest of the holes in the chassis, using the holes in the roll bar feet as a guide - you'll need the long drill bit for the holes in the rear deck. Then jack the back of the car up and bolt the backing plates in place. I borrowed a friend for this step, and we knocked it out in 30 minutes.

    If you don't have good nuts and bolts, go to your local Ace Hardware and get the baddest Grade 8 shit you can find, with flat and lock washers. Buy yourself all the pizza and beer you can handle without vomiting too much, then enjoy your handiwork.
    '94 Black & Black & Tan
    '99 head swap, JR header, TDR intake & header blanket, MegaSquirt, RB hollow bar, Tein Flex, 15x8 6ULs, HD M2 Sport, FM cat, Borla cat-back, black '95M interior, MOMO Zebrano, IL Motorsport console...

    Dyno Days
    8/16/08 (bone stock): 103.1 hp/99.0 lb-ft - Dynojet
    8/23/08 (Borla cat-back): 108.2 hp/104.1 lb-ft - Dynojet
    8/13/11 (more stuff...): 126 hp/116 lb-ft - Mustang dyno

    Roger Moore: the Danny White of James Bonds

  9. #9
    Chassis Designer
    Join Date
    Mar 2009
    Location
    McKinney, TX
    Posts
    143

    Default

    Thanks trickyrix. It's good to know that most people did it by themselves and didn't run into much issues.

    The only issue I have is that there are no good write-ups for NB2 rollbar install and since I have the M2 (I think), I don't have that harness bar or anything that looks like it may connect to seat belt towers.

    On second thought, here is a picture of the rollbar and those tabs that are sticking out looks like they will rest on the said seatbelt towers if I am correct? (Edit: Those tabs are for harness bar. There are no seat belt tower bolts changes required for NB2 from all that I have seen/read)


    I have all the bolts needed but I can get new ones and I should I think. I do not have bolts for those seatbelt tower tabs. Should I take the bolt out from passenger side seatbelt tower and try to find a longer bolt like that from Home Depot or Lowe's?

    Long 3/8 drill bit, regular 3/8 drill bit is on the list along with some automotive snip tool and some primer/paint stuff to cover the holes to make sure I don't get the rust mod more than I already have :)

    Thanks everyone once again for all the guidance and support.
    Last edited by S2K_MoZo; 04-16-2014 at 11:31 AM. Reason: Correction.

  10. #10

    Default

    I'd personally get the HD hardware kit for it. TrackDog sells it. Has everything you need. The seatbelt tower bolt that TR is talking about is the bolt that secures the OEM seat belt reel. It's metric. All the other bolts in the kit are SAE. The nuts in the kit are all-metal locknuts ("stovepipe nuts" at Ace).

    When I said 1-person, forgot about tightening the bolts. That does go a lot faster with two, although I did it by myself on the roll cage. Not too bad as long as you have chimp-length arms.

  11. #11

    Default

    Here's a decent pic from my install. You can see where the front feet bolt down to the base of the seat belt tower as well as the rear bulkhead. I've got an M2 Sport bar, so it sits a little further back - hence the bolts on mine for the top of the seat belt tower. You should be able to stab the bar in with those two lower seat belt bolts before you have to drill anything. However, you will have to do some cutting on the chassis to clear the rear legs of the bar.

    '94 Black & Black & Tan
    '99 head swap, JR header, TDR intake & header blanket, MegaSquirt, RB hollow bar, Tein Flex, 15x8 6ULs, HD M2 Sport, FM cat, Borla cat-back, black '95M interior, MOMO Zebrano, IL Motorsport console...

    Dyno Days
    8/16/08 (bone stock): 103.1 hp/99.0 lb-ft - Dynojet
    8/23/08 (Borla cat-back): 108.2 hp/104.1 lb-ft - Dynojet
    8/13/11 (more stuff...): 126 hp/116 lb-ft - Mustang dyno

    Roger Moore: the Danny White of James Bonds

  12. #12

    Default

    I could probably help sometime during the day on Friday, I'm off of work too. I have helped with a roll bar install before, it's just been a few years.
    "Racing makes heroin addiction look like a vague longing for something salty" - Peter Egan

  13. #13
    Driver
    Join Date
    Nov 2008
    Location
    at the buffet (Frisco)
    Posts
    1,966

    Default

    Zo definitely get the new hardware kit if you can spend the $$s. Safety items are one thing to not skrimp on. I might be able to help Friday but I've got a few honey dos to get done first.

  14. #14
    Chassis Designer
    Join Date
    Mar 2009
    Location
    McKinney, TX
    Posts
    143

    Default

    Thanks guys, feel free to drop by. I'll pm you guys my address. Ill probably start the install in the morning around 9am and take a break around noon. I'll grab some sodas and snacks just in case anyone needs a snack :)

    I was going to pick up new hardware but TDR doesn't keep it in stock so I may install using old hardware and then replace it with new one once I get it. I hope that will work.

  15. #15

    Default

    The morning will work good for me
    "Racing makes heroin addiction look like a vague longing for something salty" - Peter Egan

  16. #16
    Chassis Designer
    Join Date
    Mar 2009
    Location
    McKinney, TX
    Posts
    143

    Default

    I just sent you my address lolmx5.

  17. #17
    Chassis Designer
    Join Date
    Mar 2009
    Location
    McKinney, TX
    Posts
    143

    Default

    So far so good, just waiting on a jigsaw now :)

    Most of the stuff out of the way:


    Having some issues with the plastic around seatbelt tower and then I made a mistake:


    I broke that clip above but it wasn't the worst part of it.


    Thanks to all the confusing posts out there, I started taking the seatbelt tower bolt out.


    Turns out there is a pin behind that bolt and that is ALL you have to take out in order to get all this trim out.

    Anyways, I realized that I don't want to cause an electric short with my skills and wanted to secure the ground on the battery so I put it to work:


    Previous owner had a dog, ate seeds in the car and pistachios..to top it off, she spilled coffee real bad all around the transmission tunnel so I had fun trying to clean this up:


    I was debating to take the whole carpet out and live with loud car everyday but then I saw the back and I guess I'll be living dirty in the car:


    Got the side trims off so I can get to the top bolt on the seatbelt reel which needs to be taken out and reel moved a little.


    Both seatbelt tower bolts need to stay in on NB2s but the reel top bolt needs to be taken out so you can move them to the middle a little. Have to bend the tab straight to do that which I will try to take a picture of in anyone tries to do it in future.

    Bolt taken out and you can see the tab that we will be bending in order to move the reel towards the middle of the car. Bottom bolt is still on and I am *guessing* that rollbar will provide support to the reel so we may not need the top bolt. Maybe time for a harness?


    At this point I put the top back up, try to fit the rollbar in to see how much I'm going to have to cut and I realized that this might be the toughest part.

    While I'm waiting on a buddy with jigsaw, I guess I'll pick up some wet cleaning wipes and try to clean up as much as I can. I know it will get dirty again but my family is out and I'm bored and OCD so...

    Thanks everyone for all your help. I will try to take lots of pics and document the process so the NB2 people have some kind of knowledge on installing the M2 Hardcore rollbar.

    Oh and a huge thanks to folks at TDR for guiding me at every step of the way!!

  18. #18
    Chassis Designer
    Join Date
    Mar 2009
    Location
    McKinney, TX
    Posts
    143

    Default

    So, I finally found a very good writeup here:

    http://members.shaw.ca/rstange1/stormy/RollBar.pdf

    Going by that post, I followed everything and with the help of goofygrin, we're all done.

    Took almost 6 hours and haven't driven the car yet. I still have to cut the packaging tray so it would fit but everything else aside from that is done. *I think*


    Been meaning to put a picture of that Armstrong box in the background for one of our fellow autocrossers..thought he'd get a kick out of it.


    Didn't have to mess with the seatbelt rails at all. All bolts lined up for the most part :)


    M2 Hardcore doesn't go so far back so you don't have to cut a huge hole. We ended up cutting a little too much but who cares...hopefully I can eat a couple extra donuts to make up for that weight loss..lol


    Took forever to clean that carpet. It looks much better but still not 100%. Dog hair just won't come off!!! Cheap carpet + dog hair = bad time!


    Another view of the rollbar.


    Here is a view of the carpet mostly cleaned up. I'd still rate it 5/10 after major vacuum, shampoo and more vacuum but oh well, it will get dirty anyways on spin outs at the track and all.


    First seat is in and I love how you can push it all the way back and rollbar doesn't get in the way.

    Now an off topic question:


    I did my shifter rebuild not too long ago and I noticed that the boot has this weird stretch. Is that common? I tried to push that white circle down with all the force I had left after the install but I could not push it down.
    Is that normal?

    Both seats are in and everything but the parcel/package shelf or whatever it's called. Will cut/trim it tomorrow I guess and then I should be good to go.

    Thanks everyone for all your help and tips/suggestions

  19. #19
    Team Cheap Bastard
    President & Founder
    sammm's Avatar
    Join Date
    Jan 2004
    Location
    NC
    Posts
    6,457

    Default

    That collar should go down. Hit it with some silicone spray.
    Nice job on the bar install.

  20. #20

    Default

    Good job.

    Yep, that collar will go down.

    You "barely" have to trim the package shelf. It will almost go on untrimmed. 10 minutes tops.

    So, you're a PDR guy? That's good to know.

Page 1 of 2 12 LastLast

Similar Threads

  1. Hard Dog M2 Sport Rollbar
    By slowchildmiata in forum dfwMiata.com Classifieds
    Replies: 16
    Last Post: 06-30-2012, 02:12 PM
  2. Question about installing hard dog roll bar
    By tinman831 in forum Miata Tech and Chat
    Replies: 3
    Last Post: 02-06-2011, 08:46 PM
  3. Wtb: hard dog hard core m2 dd hard top roll bar
    By tinman831 in forum dfwMiata.com Classifieds
    Replies: 7
    Last Post: 12-28-2010, 03:29 PM
  4. Polished Hard Dog Rollbar For Sale
    By black roadster in forum dfwMiata.com Classifieds
    Replies: 1
    Last Post: 03-16-2010, 01:12 PM
  5. Installing New Top
    By WhiteLightning in forum Miata Tech and Chat
    Replies: 7
    Last Post: 02-08-2006, 11:36 PM

Posting Permissions

  • You may not post new threads
  • You may not post replies
  • You may not post attachments
  • You may not edit your posts
  •